
If you have been following along on my Instagram stories you’ll remember back at the beginning of quarantine that my husband and I decided to ‘update’ our master bathroom. We didn’t want to do anything major that would require anyone to come into our home during the stay at home order but we wanted to finally make our bathroom match not only our room (you can see more of my bedroom design featured here) but also the style of the rest of our house.
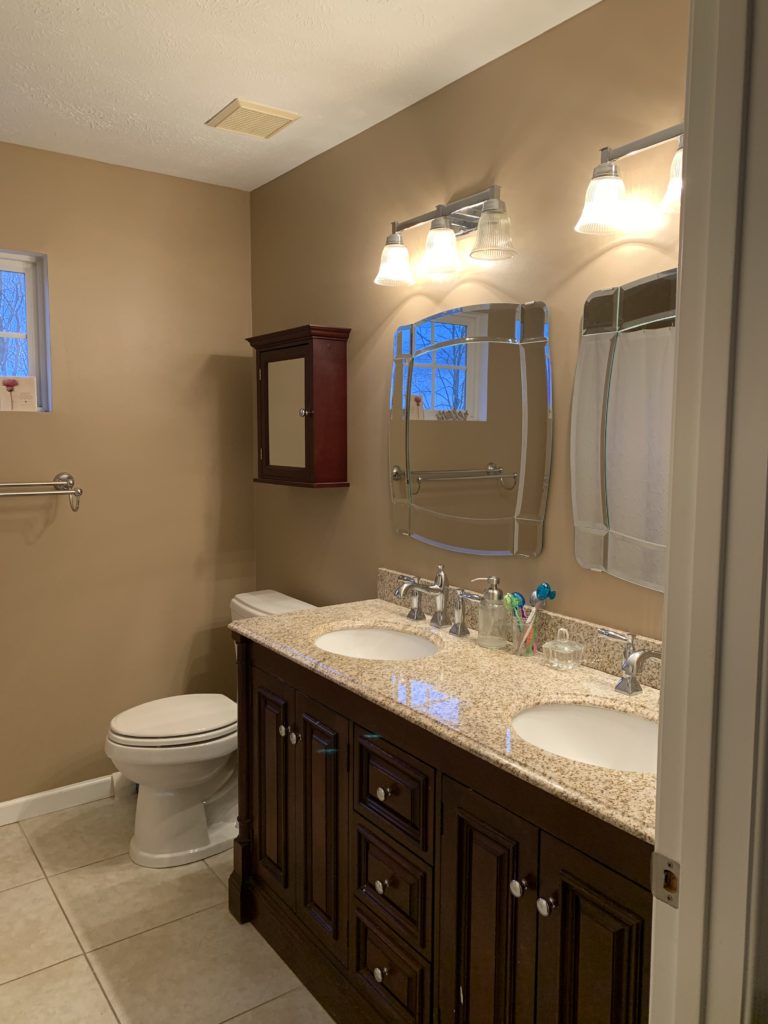
Technically there wasn’t a lot of things to do but what we wanted did take a lot of work and a lot of time! Here are the things we chose to do:
- Paint the walls
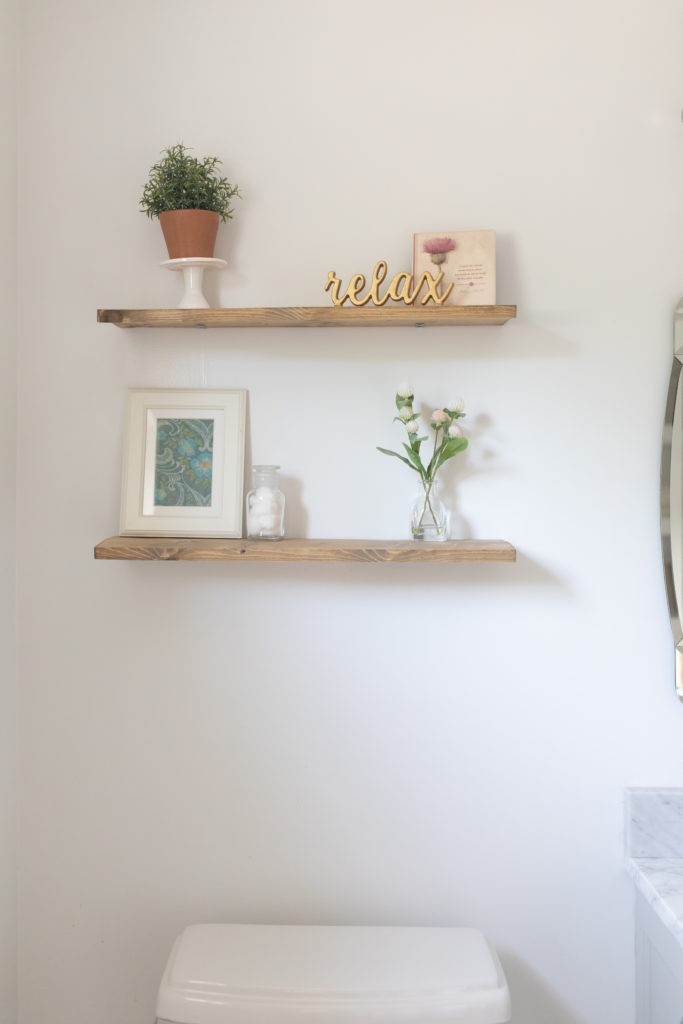
- Remove medicine cabinet, add floating shelves
- Replace vanity lights
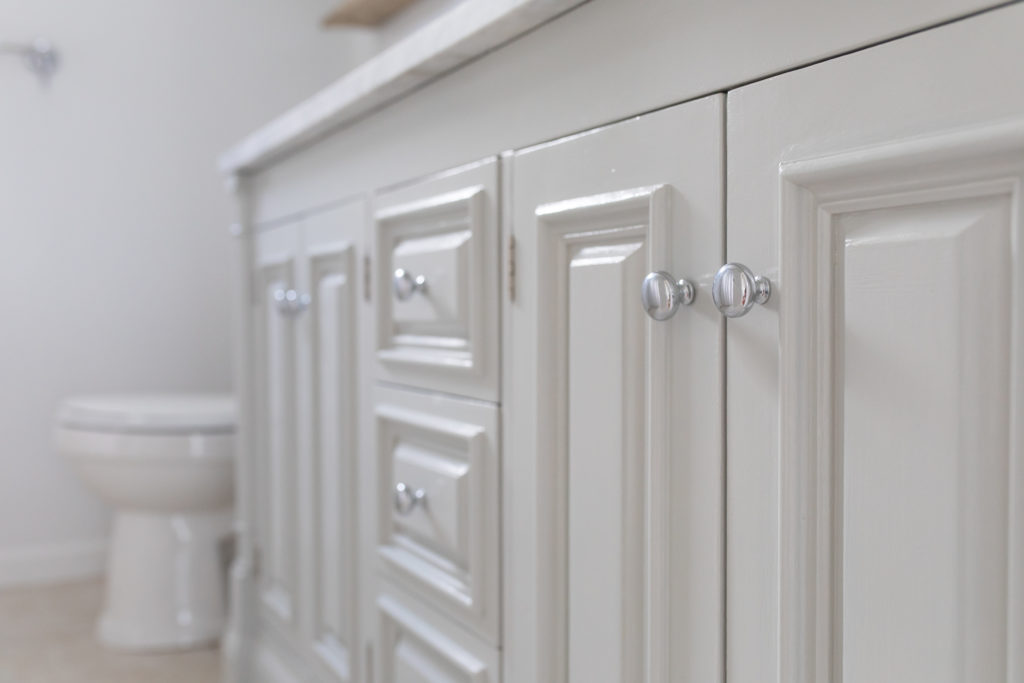
- Refinish existing vanity (the most time consuming)
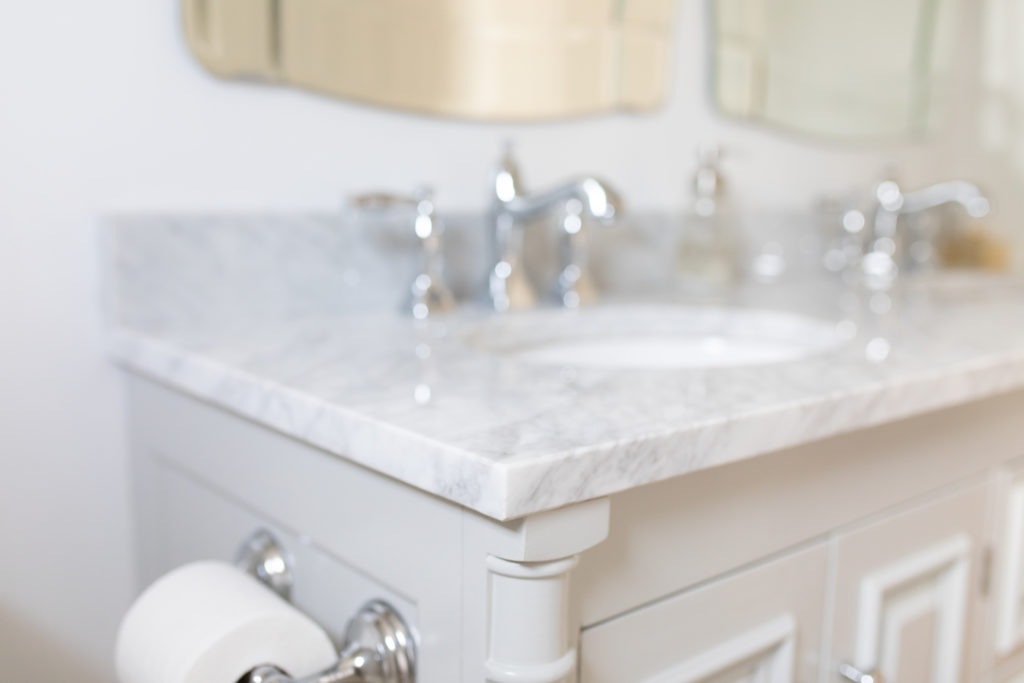
- Replace countertop to existing vanity
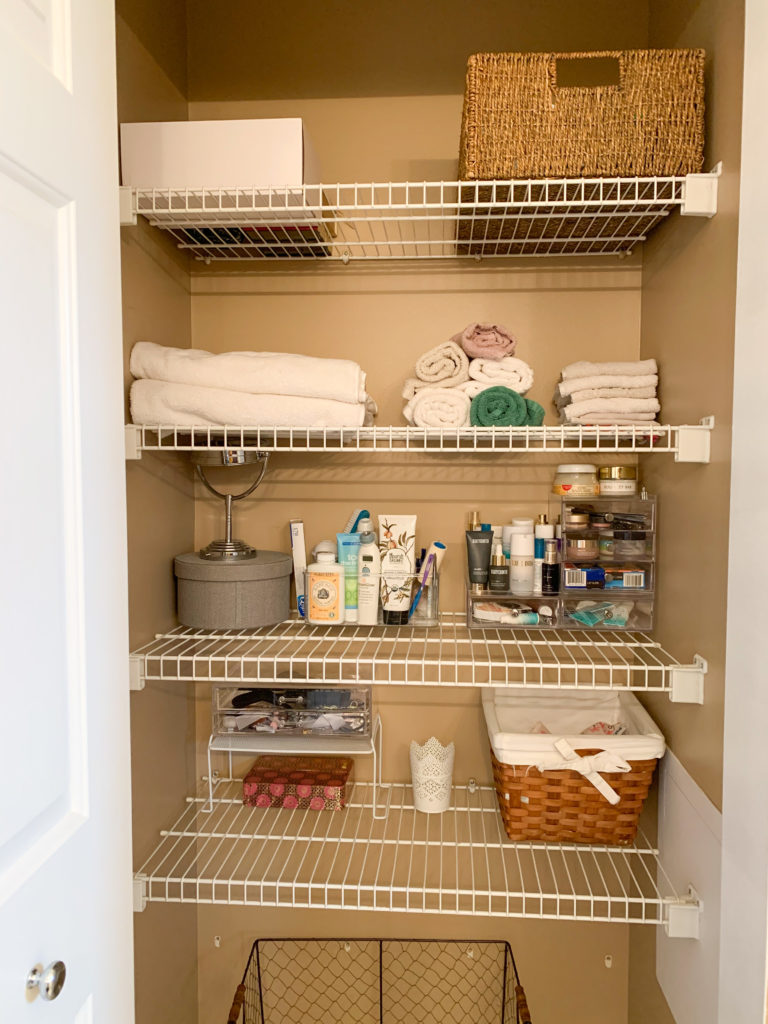
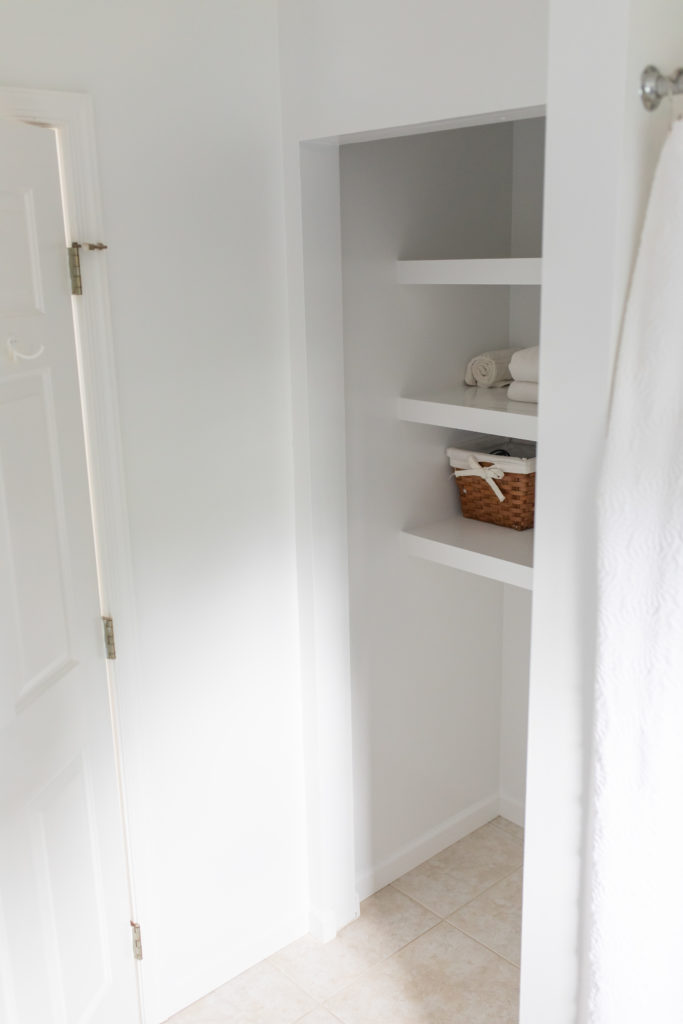
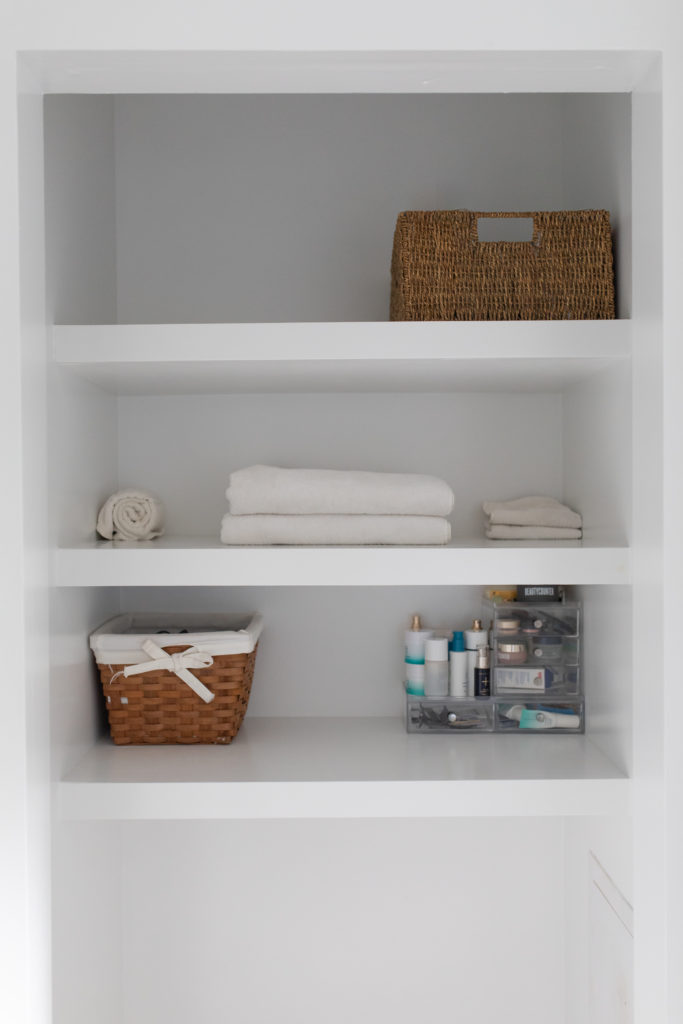
- Replace wire shelving in closet with wood shelving
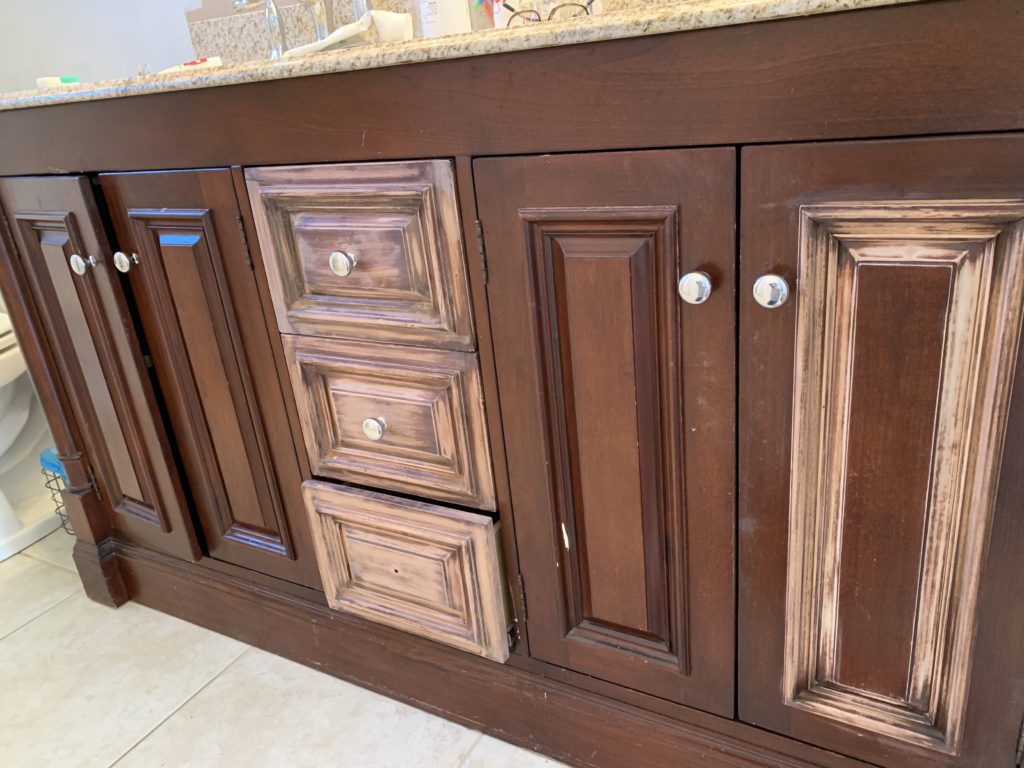
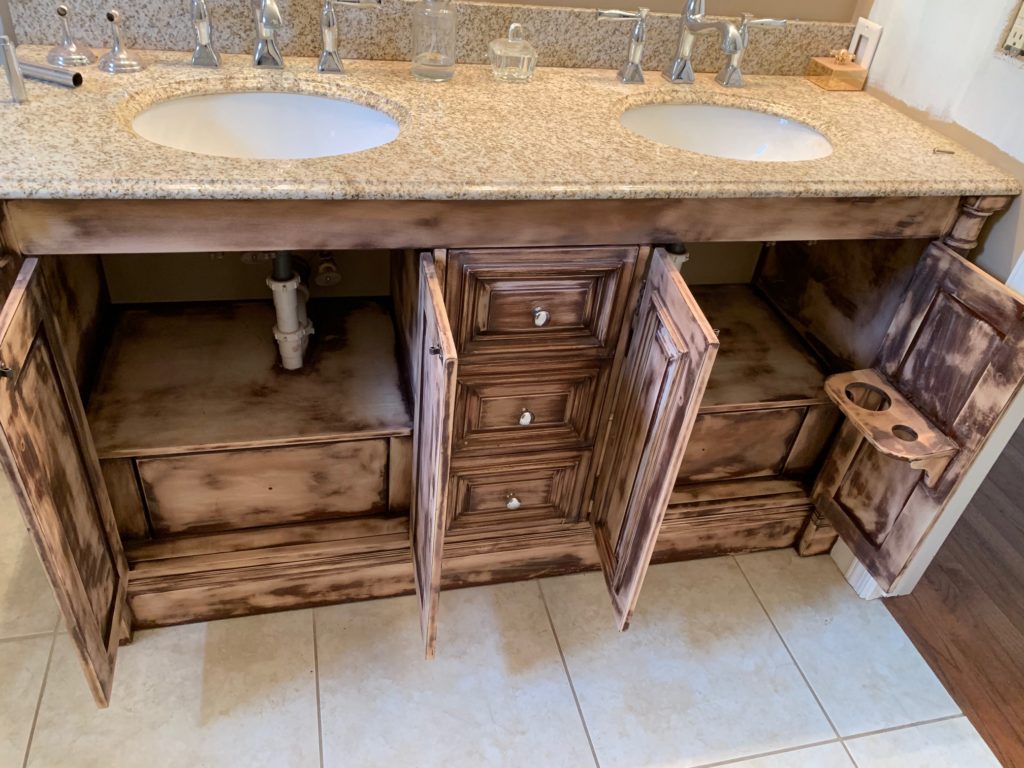
I started with refinishing the vanity since it creates such a huge mess from all the sanding so I didn’t want to paint walls until the cleanup from that job was complete. I used my hand-held electric sander for the bigger flat areas and a piece of sandpaper for the round, small areas. This took FOREVER! This probably took me a good week or more to sand off the stain.
The next thing I did was prime it with a good covering primer. The primer we have used for many projects and really like is this Behr multi-surface primer. It is great at covering the darker areas from the leftover dark stain. Sanding down to the bare wood isn’t necessary, you just have to sand off the sealant that is on top of the stain but I prefer to get as much as possible off so that it is a fresh new surface that helps the new paint stick better. I do two coats of primer.
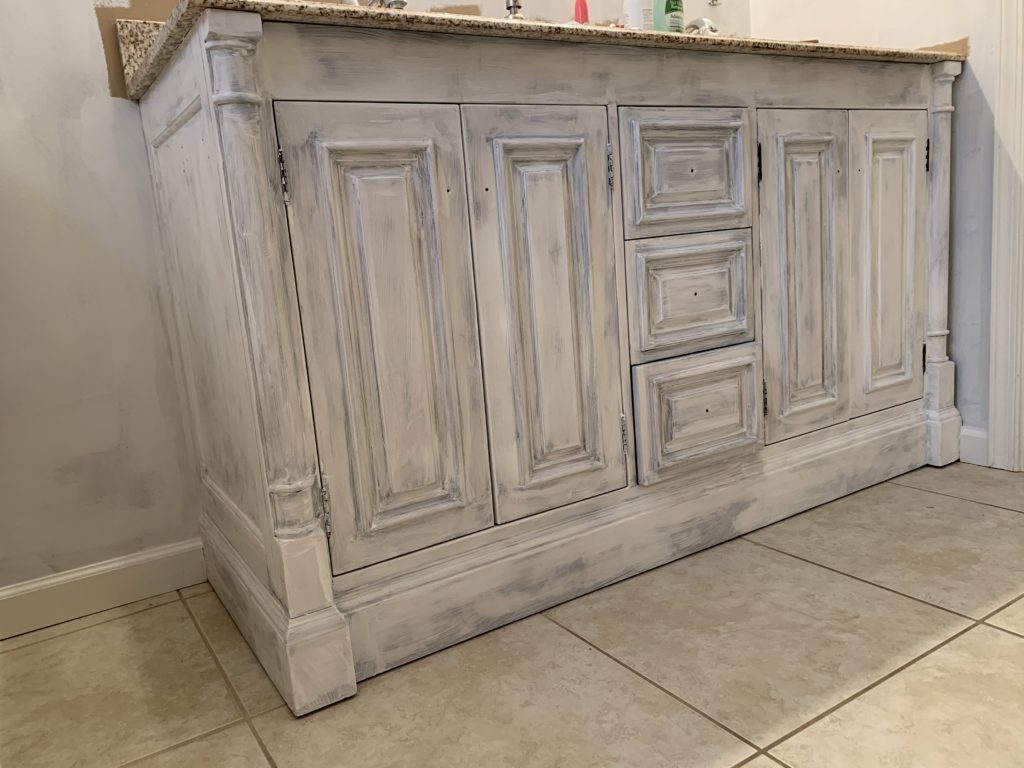
Once primed, I sanded the whole vanity again but this time with a fine grit sandpaper to smooth out any roughness.
My next step is to put on the color paint. When painting furniture it is best to use a high quality paint that is very good at self-leveling so it does not show your brush strokes. My favorite paint I use to paint furniture with is Benjamin Moore Advance Interior Paint. I have now used this paint for several refinishing projects and I could not be happier with the quality of the paint and the finished result it gives me. The only negative I have about it, is that it does have a strong odor so it is best to paint in a well ventilated area.
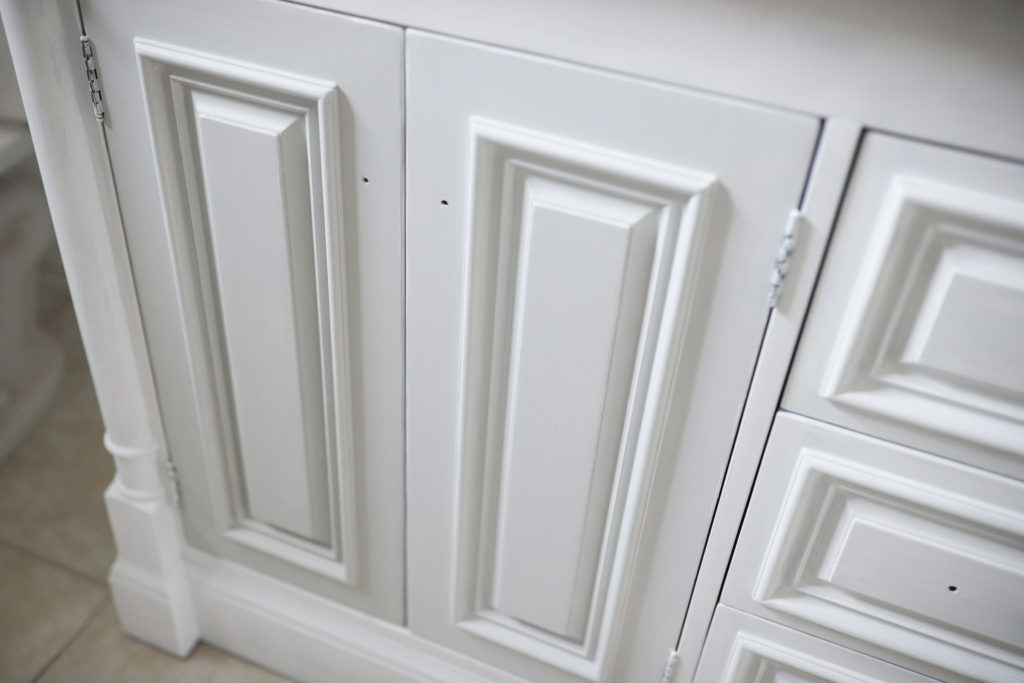
Once the two coats of color is on, dried and another quick light sanding, I then seal it with polyurethane. This helps protect the paint from chipping and provides a nice furniture grade quality to the vanity. The one I use is Varathane Polyurethane from The Home Depot. It recommends 2-3 coats so I did 3 coats just to be sure. This dries super quick and is ready for its next coat after only two hours!
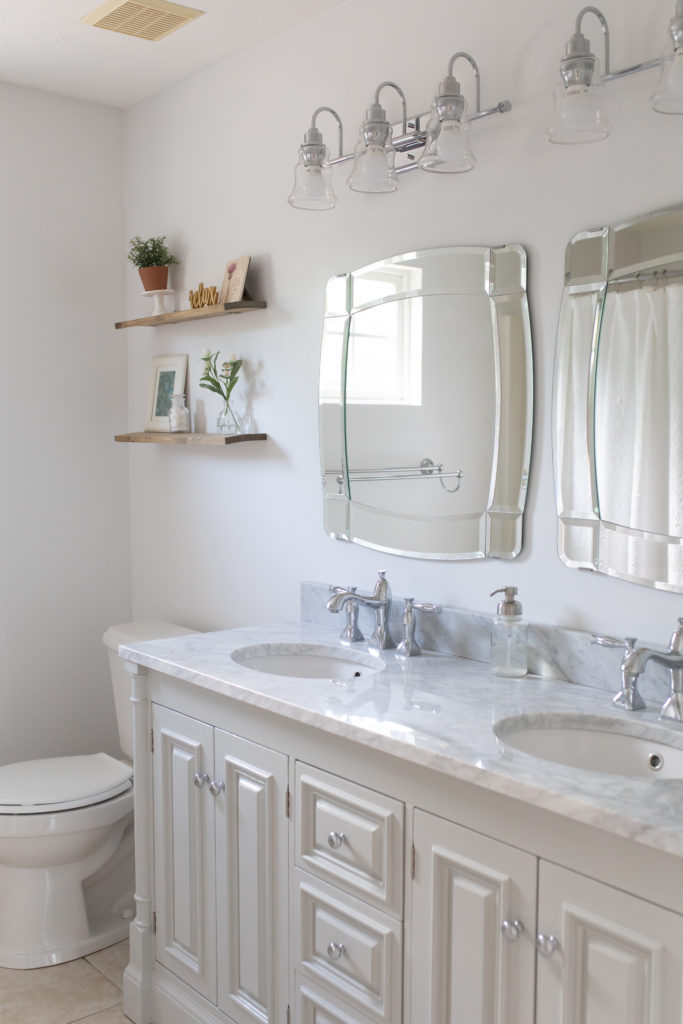
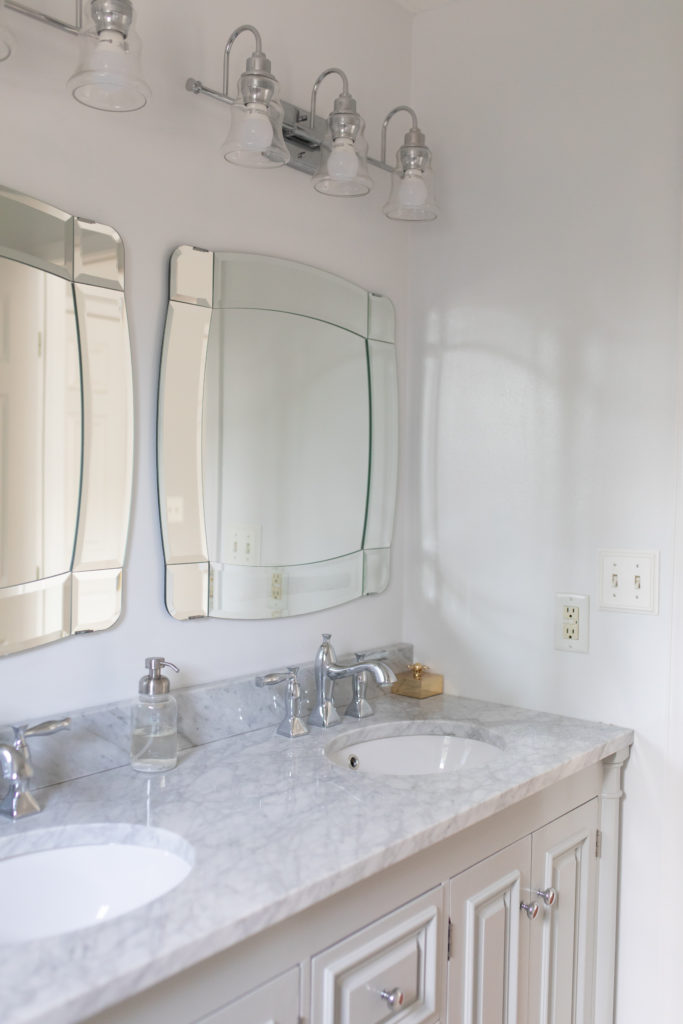
Once the sealant was dry we then removed the old countertop and sinks and replaced it with this one we purchased online. Having never ordered from them before I am, so far, very pleased with the quality! It is a VERY heavy marble countertop that took some creativity and lots of strength for my husband and I to get it up two flights of steps and into our bathroom.

For the time being we chose to keep the current faucets so we removed them, from the old countertop, cleaned them and replaced them once the new countertop was in place. The only other hardware purchased for the vanity was the hinges since the old ones were so dark they just didn’t match. But we were even able to reuse the existing door/drawer knobs.
Next I purchased new vanity lights as the old ones didn’t match the style I was after and my husband replaced those. Instead of regular light bulbs I bought ones that mimicked natural light so I had the best light when applying makeup. But now my husband says it looks like a stadium in there because it is so bright lol. He keeps insisted we remove a light bulb or two! lol
I painted the walls a white color, specifically Benjamin Moore’s Decorators White, which has a very slight gray hue to it and would tie in perfectly to our gray bedroom (again you can see more of my bedroom design featured here) and the gray vanity.
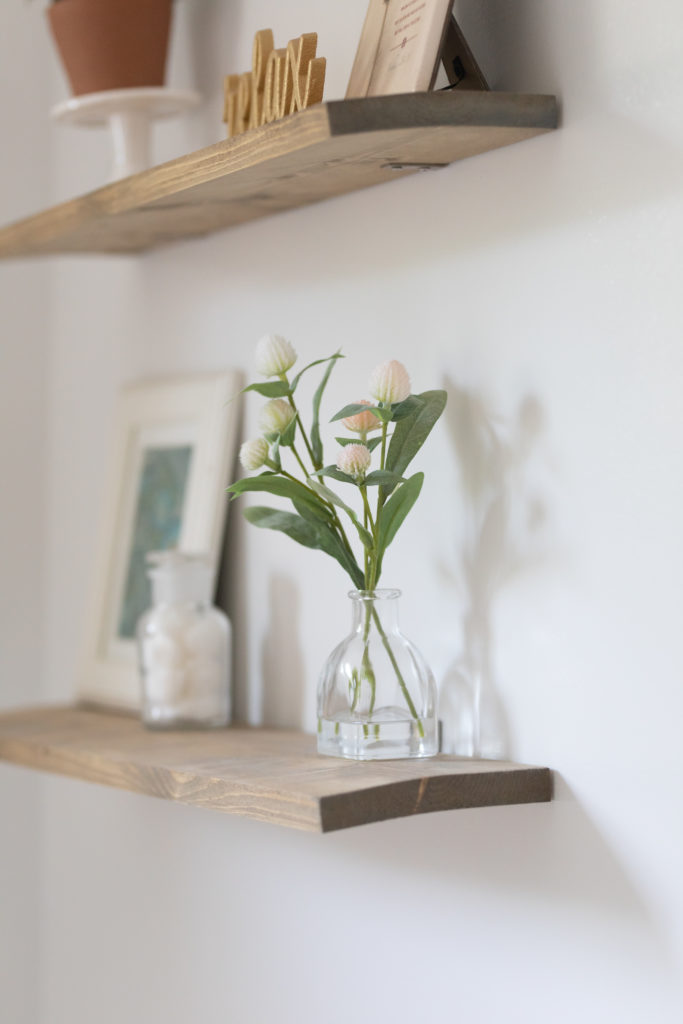
The next part of the bathroom wasn’t as hard but still time consuming. I purchased a 2×4, cut it to my desired length, sanded it, stained it and then hung them above the toilet where the medicine cabinet was. When it comes to staining wood, I turn into a mixologist and create my own color usually using a combination of Minwax Weathered Gray and Minwax Dark Walnut.
At this point, the bathroom was really coming together. The only thing left to do was to tackle the closet. The bathroom closet had wire shelves and made it so hard for shampoo bottles or any bottle for that matter to stand up and not fall down. Plus I just love the look of solid wood shelves. So between My husband, Brother-in-law and myself we made, hung and painted floating wood shelves to replace the old wire ones.
So with the closet being the final work to be done in the bathroom, it is now complete! I am so thrilled with the outcome of this complete DIY refresh! It turned out a lot better than I was hoping! So without further ado, here is out ‘new’ Master Bath!
Refinishing the vanity was hard work but I just love the finished product! This has been my 4th refinishing project using the same technique so if anyone has any questions I’d love to answer them or help in any way for you to tackle a similar job!
Lindsey Ferrie Photography is a Pittsburgh newborn photographer also specializing in maternity, family and baby photography, including one year birthday milestone sessions. Serving the greater Pittsburgh area including Cranberry Twp., Pa, Wexford, Pa, Upper St. Clair, PA, Fox Chapel, Pa, Beaver, Pa, and most areas in Beaver, Allegheny and Washington Counties. As well as some neighboring cities in Ohio and West Virginia.
If you are pregnant and interested in maternity or newborn photography, I would love to begin planning your family photography session! From that sweet baby belly to those adorably cute little details of your precious newborn baby, you will cherish these photos for years to come.
As a natural, lifestyle photographer my focus is your newborn, family and the emotions and connections told through my lens. Your story printed out and forever remembered in a beautiful authentic way.
For more information or to book a sessions you can contact me here or email me directly at lindseyferriephotography@gmail.com
